Creating a movement using the recording mode
Now we are going to see the new recording mode, that allows to record joints, without having to jump between the robot and the mouse!
Opening the recording mode
-
Open Choregraphe and connect to a real NAO robot.
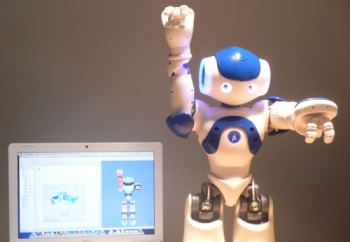
- Drag and drop the Animation box under Templates. Double click on it to enter the timeline, and open the timeline editor.
- Now activate the recording mode using the menu bar, or the toolbar. You should see 2 new columns in the tree on the left panel.
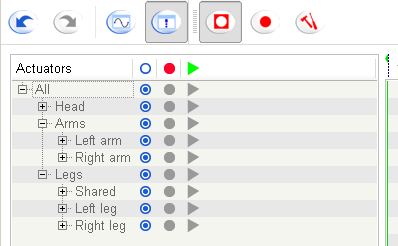
> You are now ready to record your first movement.
Recording movement
- Let's say we want to create a new dance, that moves the arms. We can start by clicking on the "record" column, in front of the "arms" section.
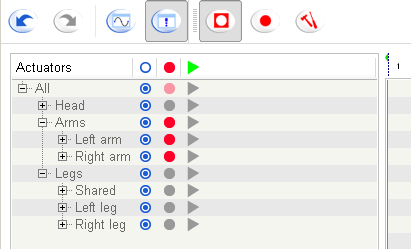
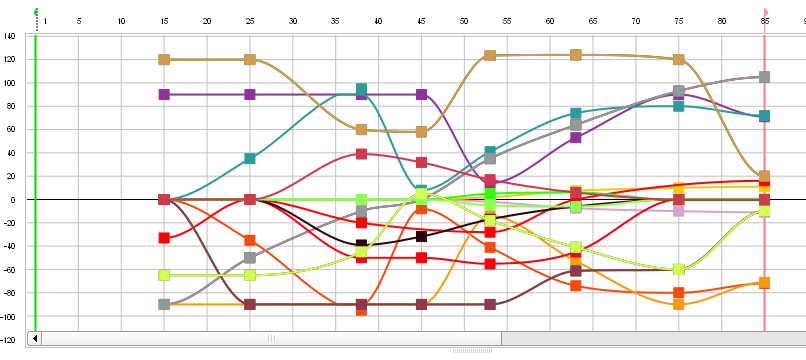
- Click on the record button in the menu bar or the toolbar, after having checked that the arms are not enslaved. The recording has started. Move the robot arms as you want, and click on the same button (the image is now a "stop" button) whenever the recording is done. You should obtain a timeline as follows.

- Now, let's say we want to move the head accordingly to our nice arms movement. You just have to uncheck the "record" column of the arms, and check the "replay" column. Then, check the "record" column of the head. If you correctly enslave the arms, starting the record should replay the arms movement while recording any movement on the head.
Note: This feature allows you to save the joints values of NAO: the joints of the whole body, the head, the arms or the legs.
- Now, let's change the recording mode: open the recording mode settings, and choose the interactive mode. The robot is going to listen to its bumpers. A small panel should explain how it works. If the arms and head are correctly enslaved, they should have gone to the first position. Now you can move the legs in the position you want, and use the right foot to enslave/unenslave the legs, so you can test your position stability. Whenever you are happy with it, press the left bumper and keep going!
Editing the recording
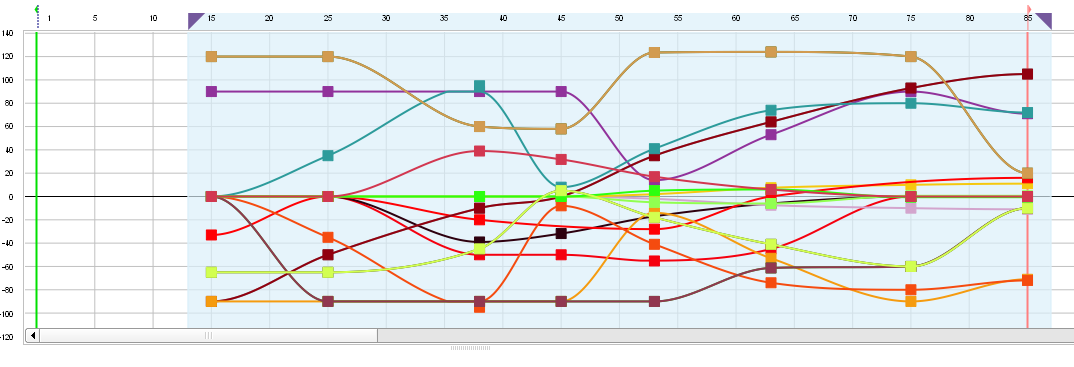
- Now, you may want to edit the recording, and customize your movement. If you open the curves mode, you may be frightened: there are a lot of key positions!
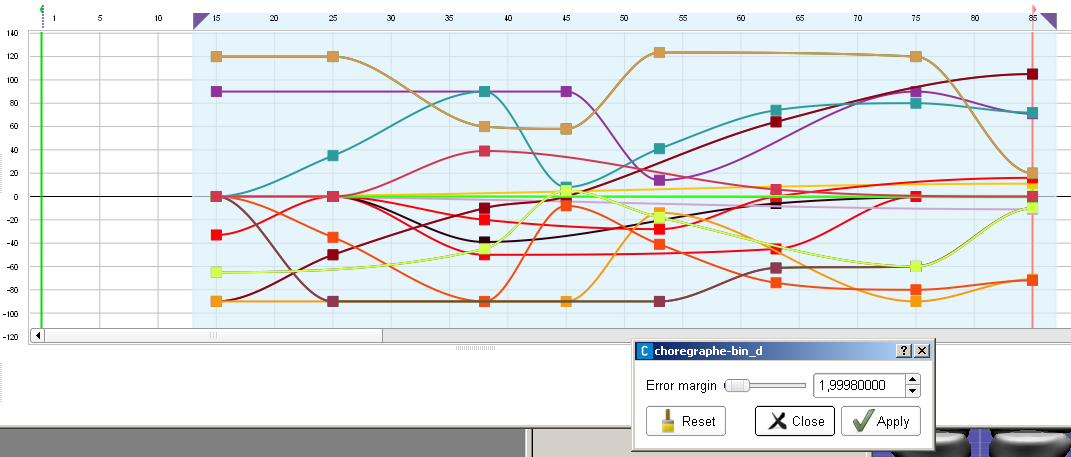
- Before doing any edition, you can use the "simplify" method, that will remove useless keys from selection. First, select a range of keyframes.
- Now click on , and try the default value. You will see that non relevant points are now transparent: they will be deleted if you accept the simplification. Click on , and you will see that the result is a bit less frightening! At least, all the double keys have been removed, which make the whole movement easier to read/modify.
Now, you are ready to edit the recording using all the timeline tools!
Copyright © 2010 Aldebaran-Robotics - All rights reserved