Tutorial
As soon as the plugin is running, it gets the camera settings and refreshes its command.
You will see the following panel.
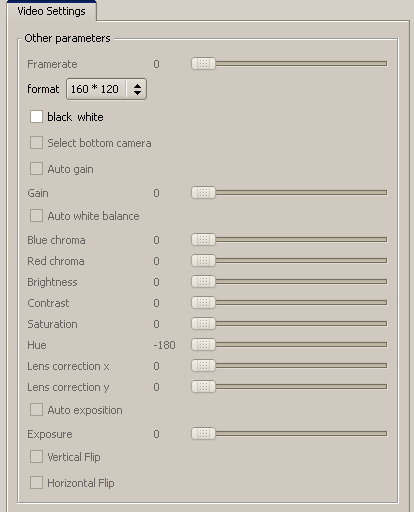
In this panel, you can change the settings of the camera that will impact all the modules using this camera (you are accessing the device directly). This way, you can see what the best parameters for your module are, and then make your module set the right parameters for its execution. On the right panel, you can see the video feedback, which is paused by default. Click on , and there you are, with a nice picture (or not if something went wrong). You can pause it any time you want. You can also easily switch between the 2 cameras of your NAO.
You can also record a video of what the camera sees by clicking on the button. A video will then start to be recorded on the robot. The video record has a frame rate of 15 fps, 320*240 with MJPG compression. Click again on to stop the video record. It is saved on the robot in your user data directory (/home/nao/naoqi/data/vision/). A pop up window will then show up to allow you to upload the video record on your own computer.