Flycam repair
Disclaimer: I am not responsible for anything caused by
you following procedures described here.
This page shows how to clean the switches of the liveview flycam. These are cheap switches,
and their malfunctioning will cause camera malfunction.
In my case the failing switch was the PAL/NTSC switch. If this one fails the camera stays in
NTSC mode or it produces only noise. If it stays in NTSC while you are grabbing PAL,
you will see a black horizontal bar somewhere halfway the grabbed image, and the picture is
separated to a part under and a part above this bar.
Apply some pressure on the switch to see if you get a better image now. If this helps,
your switches are malfunctioning and need cleaning.
If the on/off switch fails, malfunctioning will probably become even worse, you can expect
the camera to turn off unexpectedly or giving noise.
In spite of the instructions on the lifeview FAQ list, installing the latest driver
will not help resolving these symptoms!
Required tools
For opening the flycam, you need a small philips screwdriver, two small flat screwdrivers and switch cleaning spray.
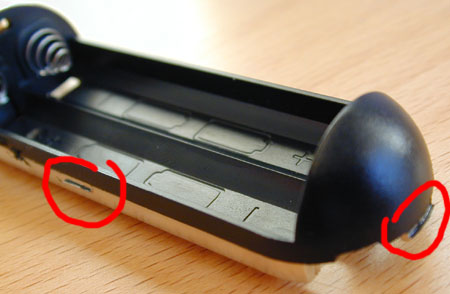
First remove the two small screws just on the back, besides the SVHS plug.
Then use the flat screwdrivers to release the snap tabs and split the housing.
Check the figure to see where the snap tabs are.
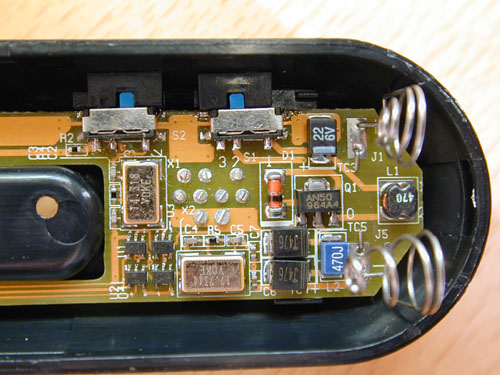
Finally apply the spray to the switches, let it dry half an hour and close the
flycam.
| The three most important snap tabs are on the bottom and on the side. | The switches and rest of inside. |